How to add more recipients to an alias?
By default, each alias forwards messages to your primary email address. With a premium plan, you can add multiple recipients to any alias — so the same incoming message gets delivered to several inboxes at once.Prerequisites
- An active Alias Email account with at least one alias. If you don't have one yet, create your first alias.
- A premium plan — multiple recipients are a paid feature. You can upgrade on the Billing page.
Step 1 — Add a new email in Settings
Open Settings. The "Emails" section lists every address attached to your account. Click "Add new email" to attach another one.

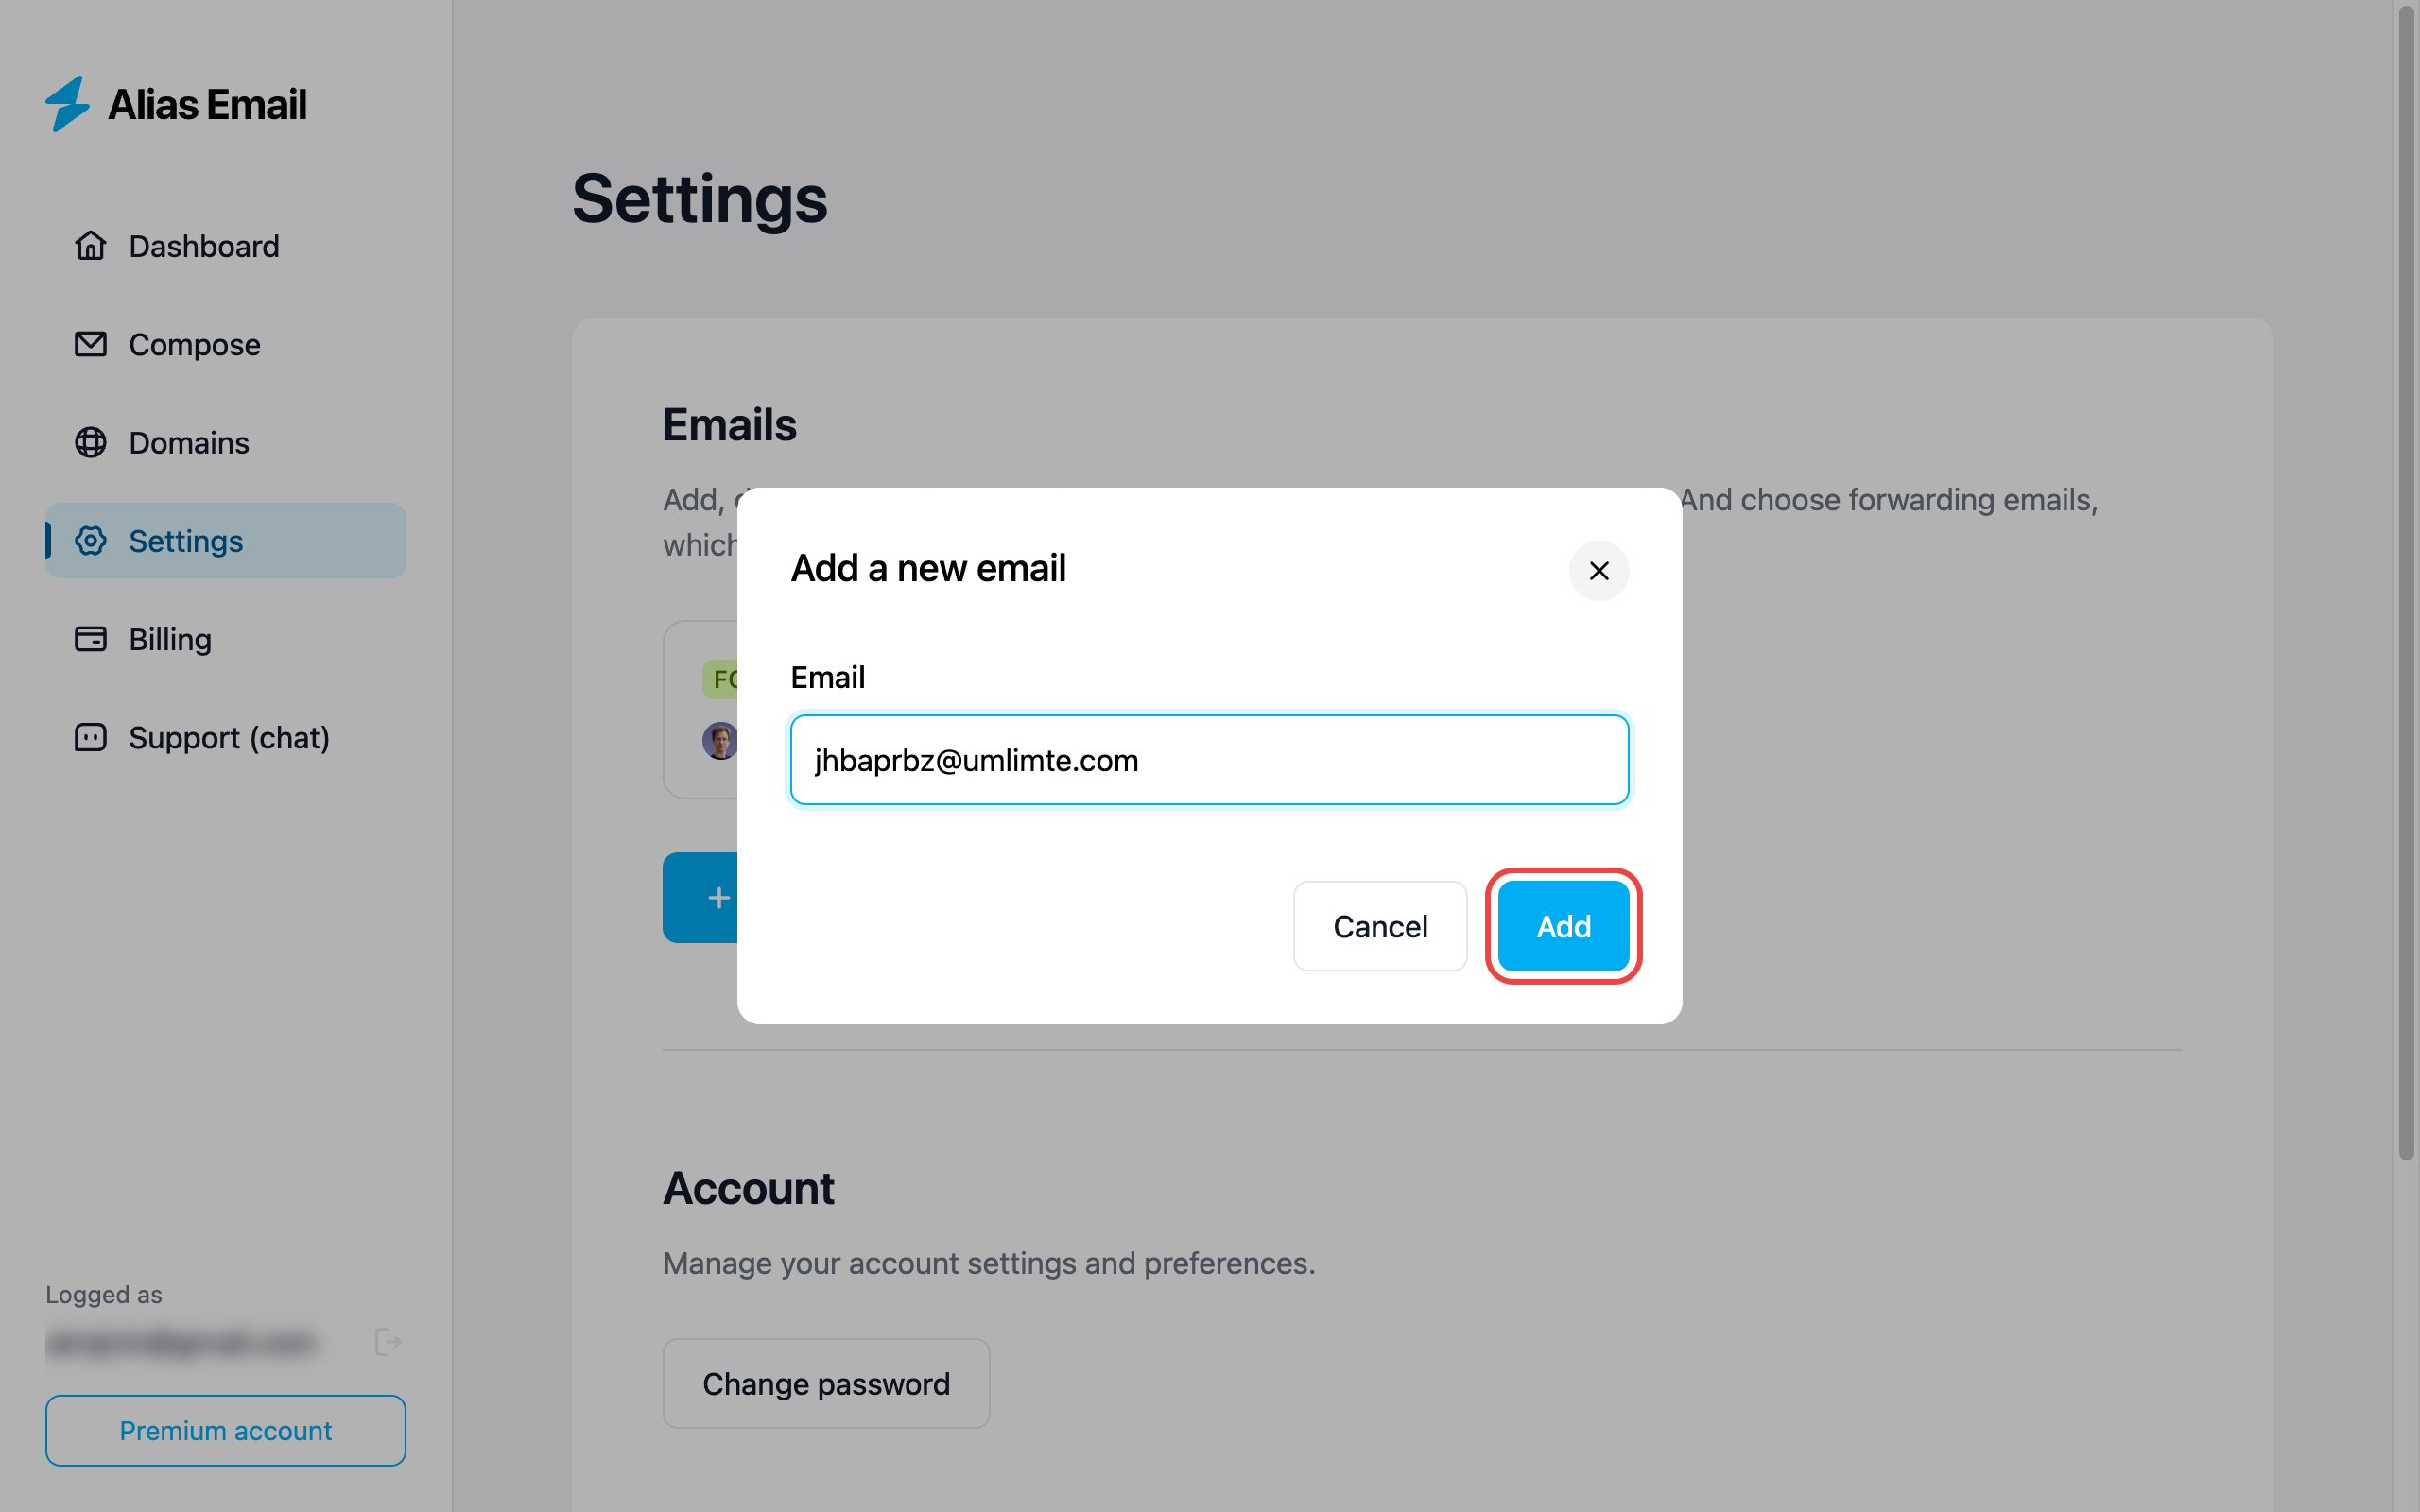
Type in the email address you want to forward messages to and click "Add". This can be any inbox you control — work, personal, or a teammate's.
Step 2 — Confirm the email address
The new email shows up in Settings with an unconfirmed status. Open the inbox of the address you added — there'll be a confirmation message from Alias Email. Click the link inside to verify ownership.
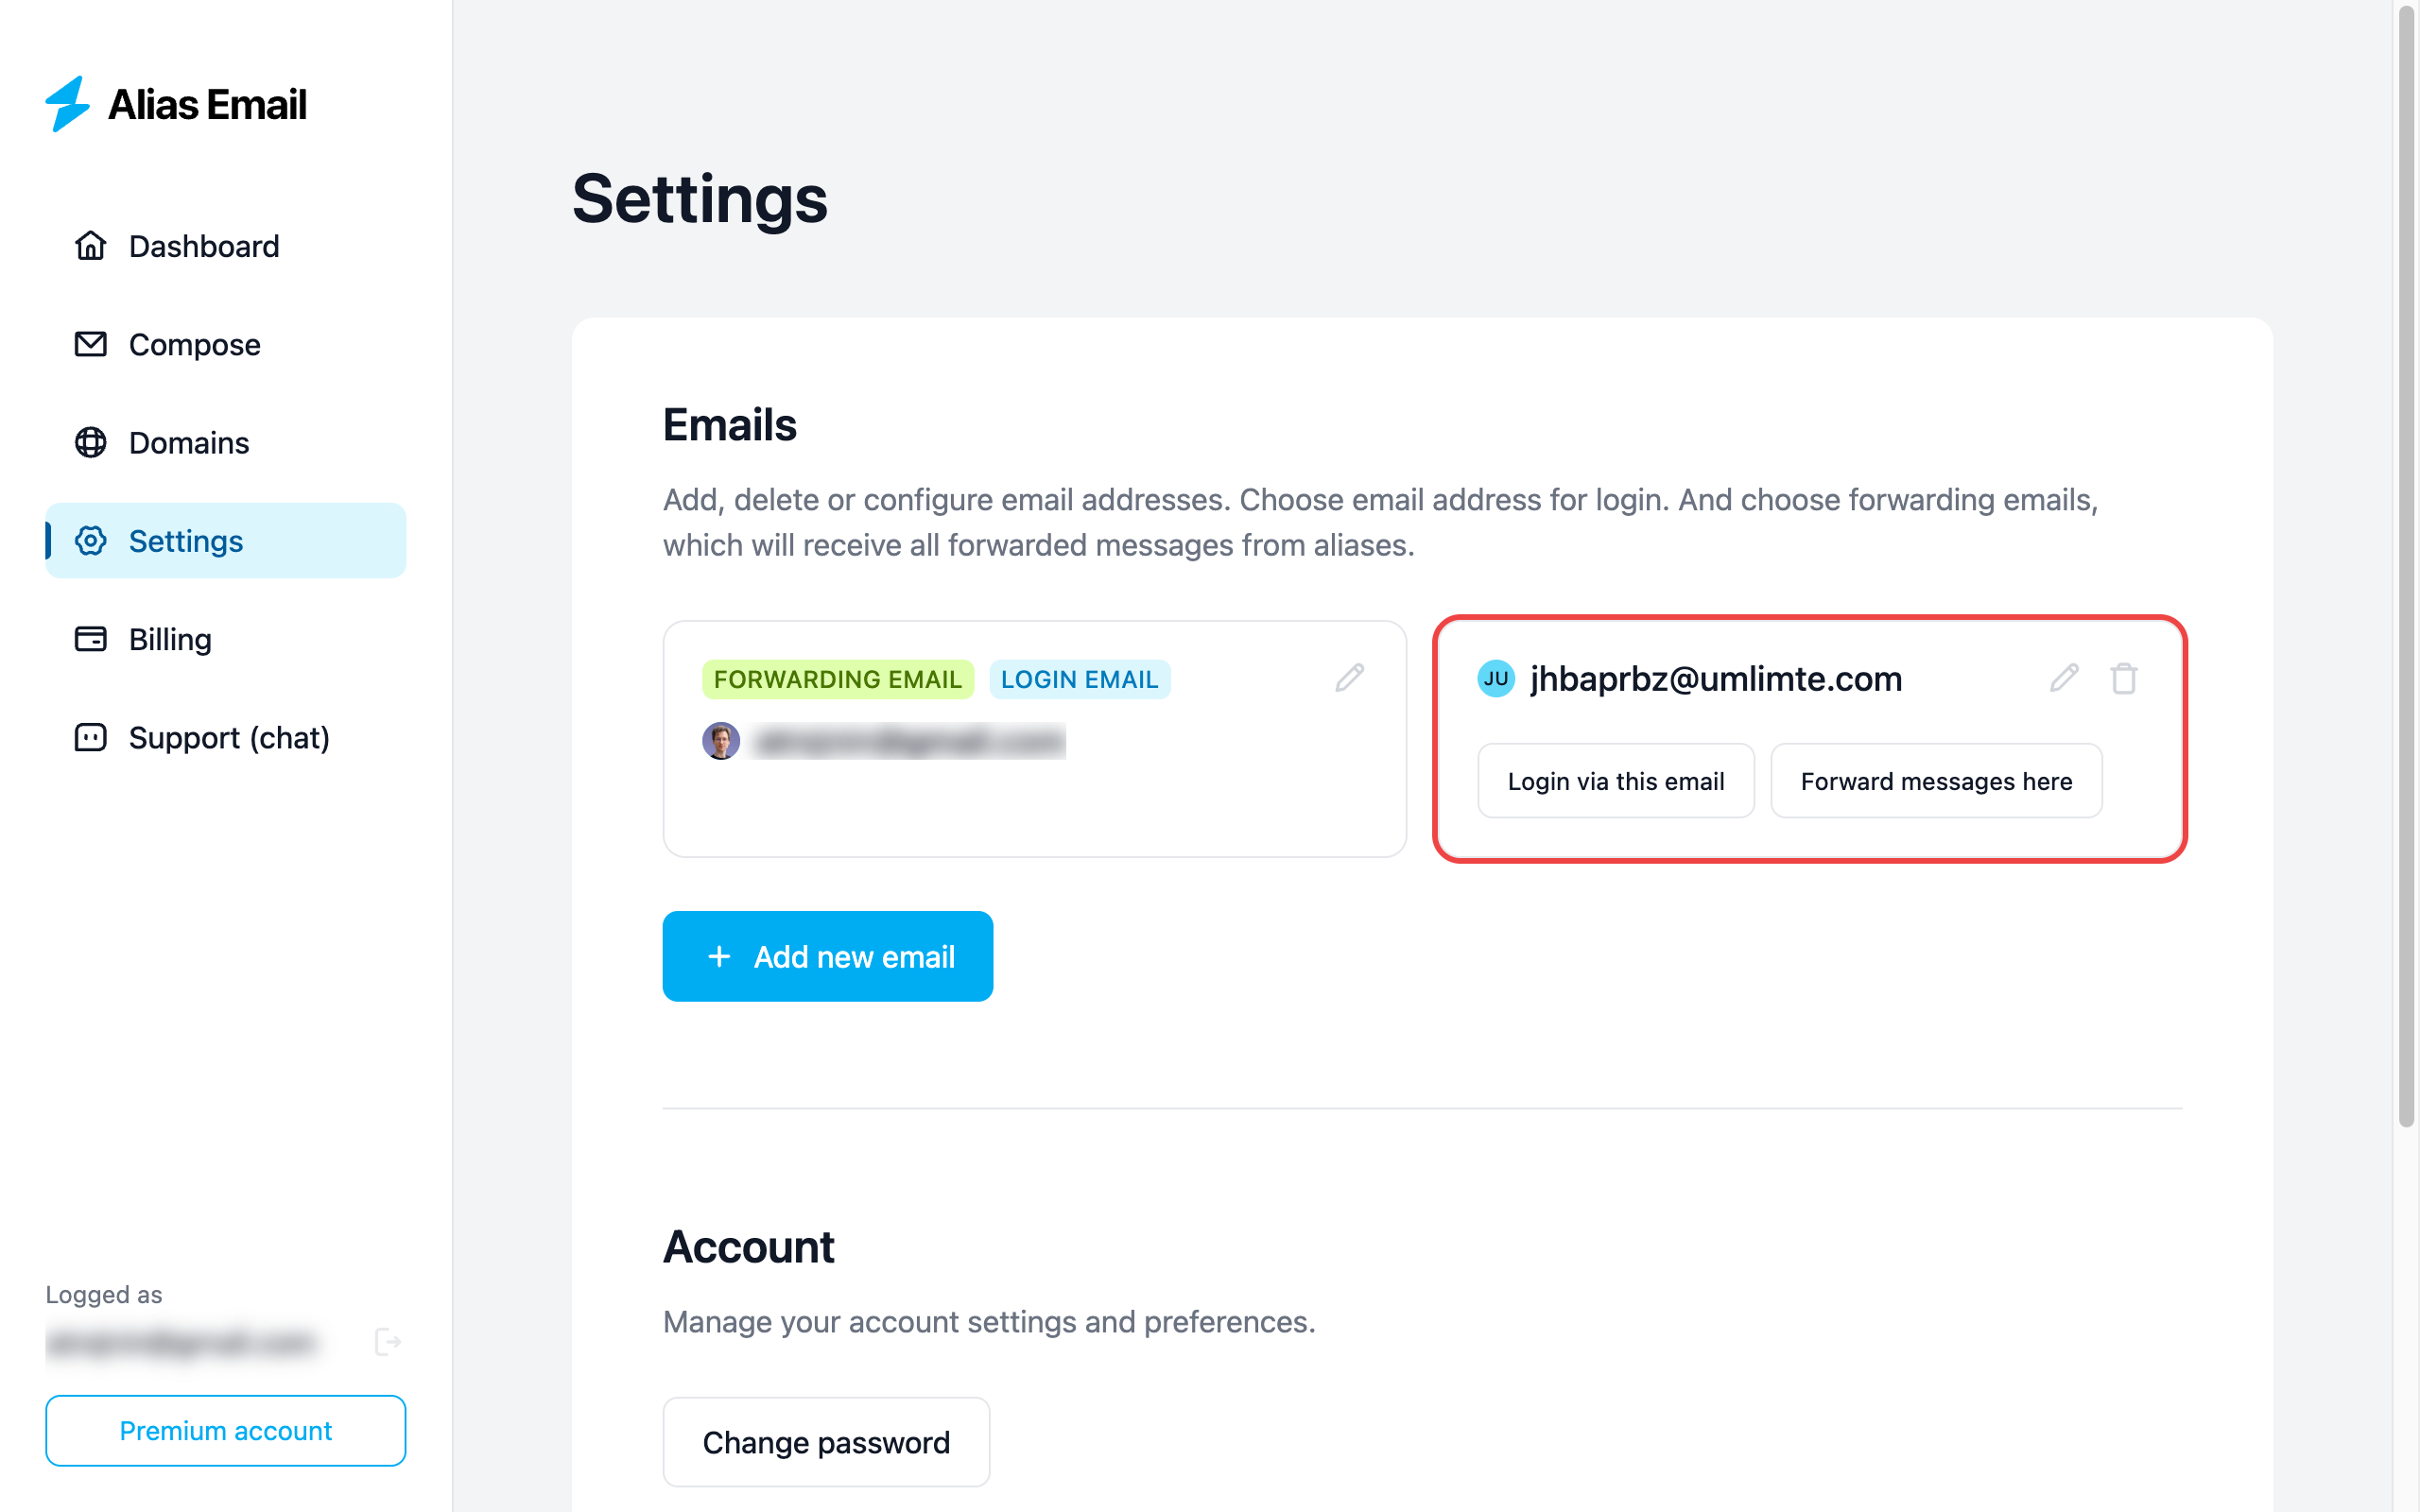
Once confirmed, the card switches to a green status and gains "Login via this email" and "Forward messages here" actions.
Step 3 — Open the Recipients modal
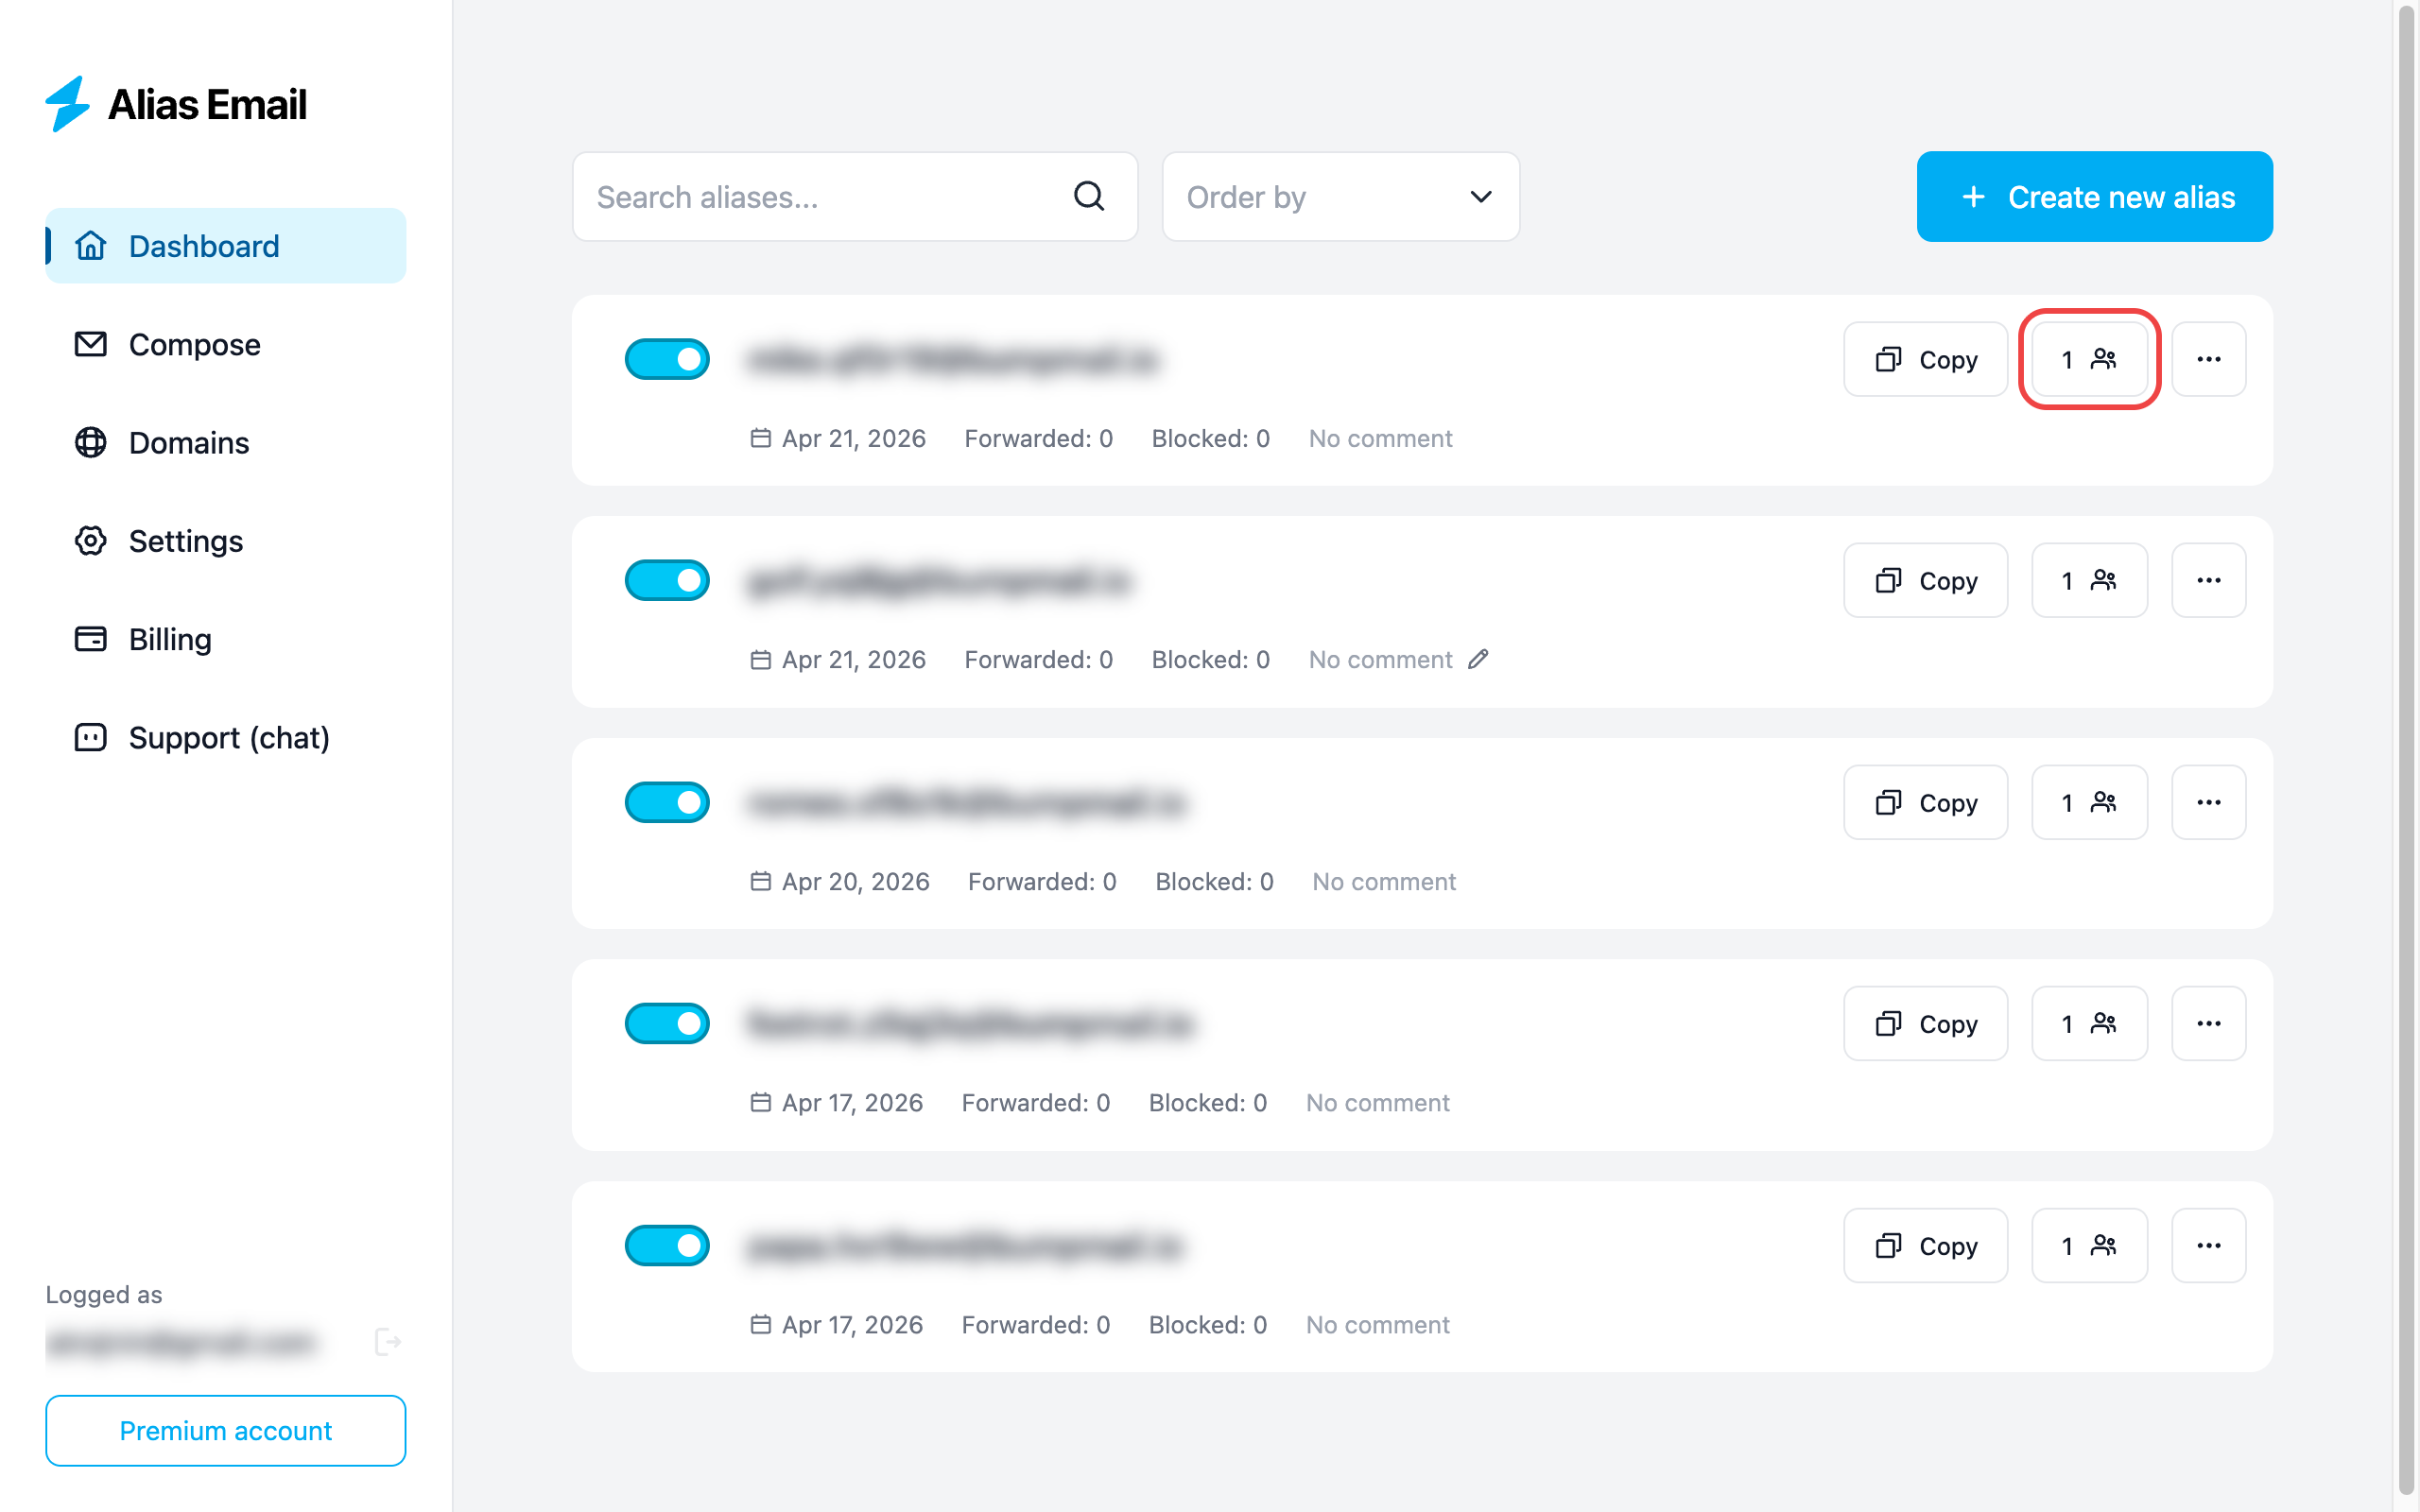
Go to the Dashboard and find the alias you want to configure. Click the recipients button (person icon with the current recipient count).
Step 4 — Add the recipient
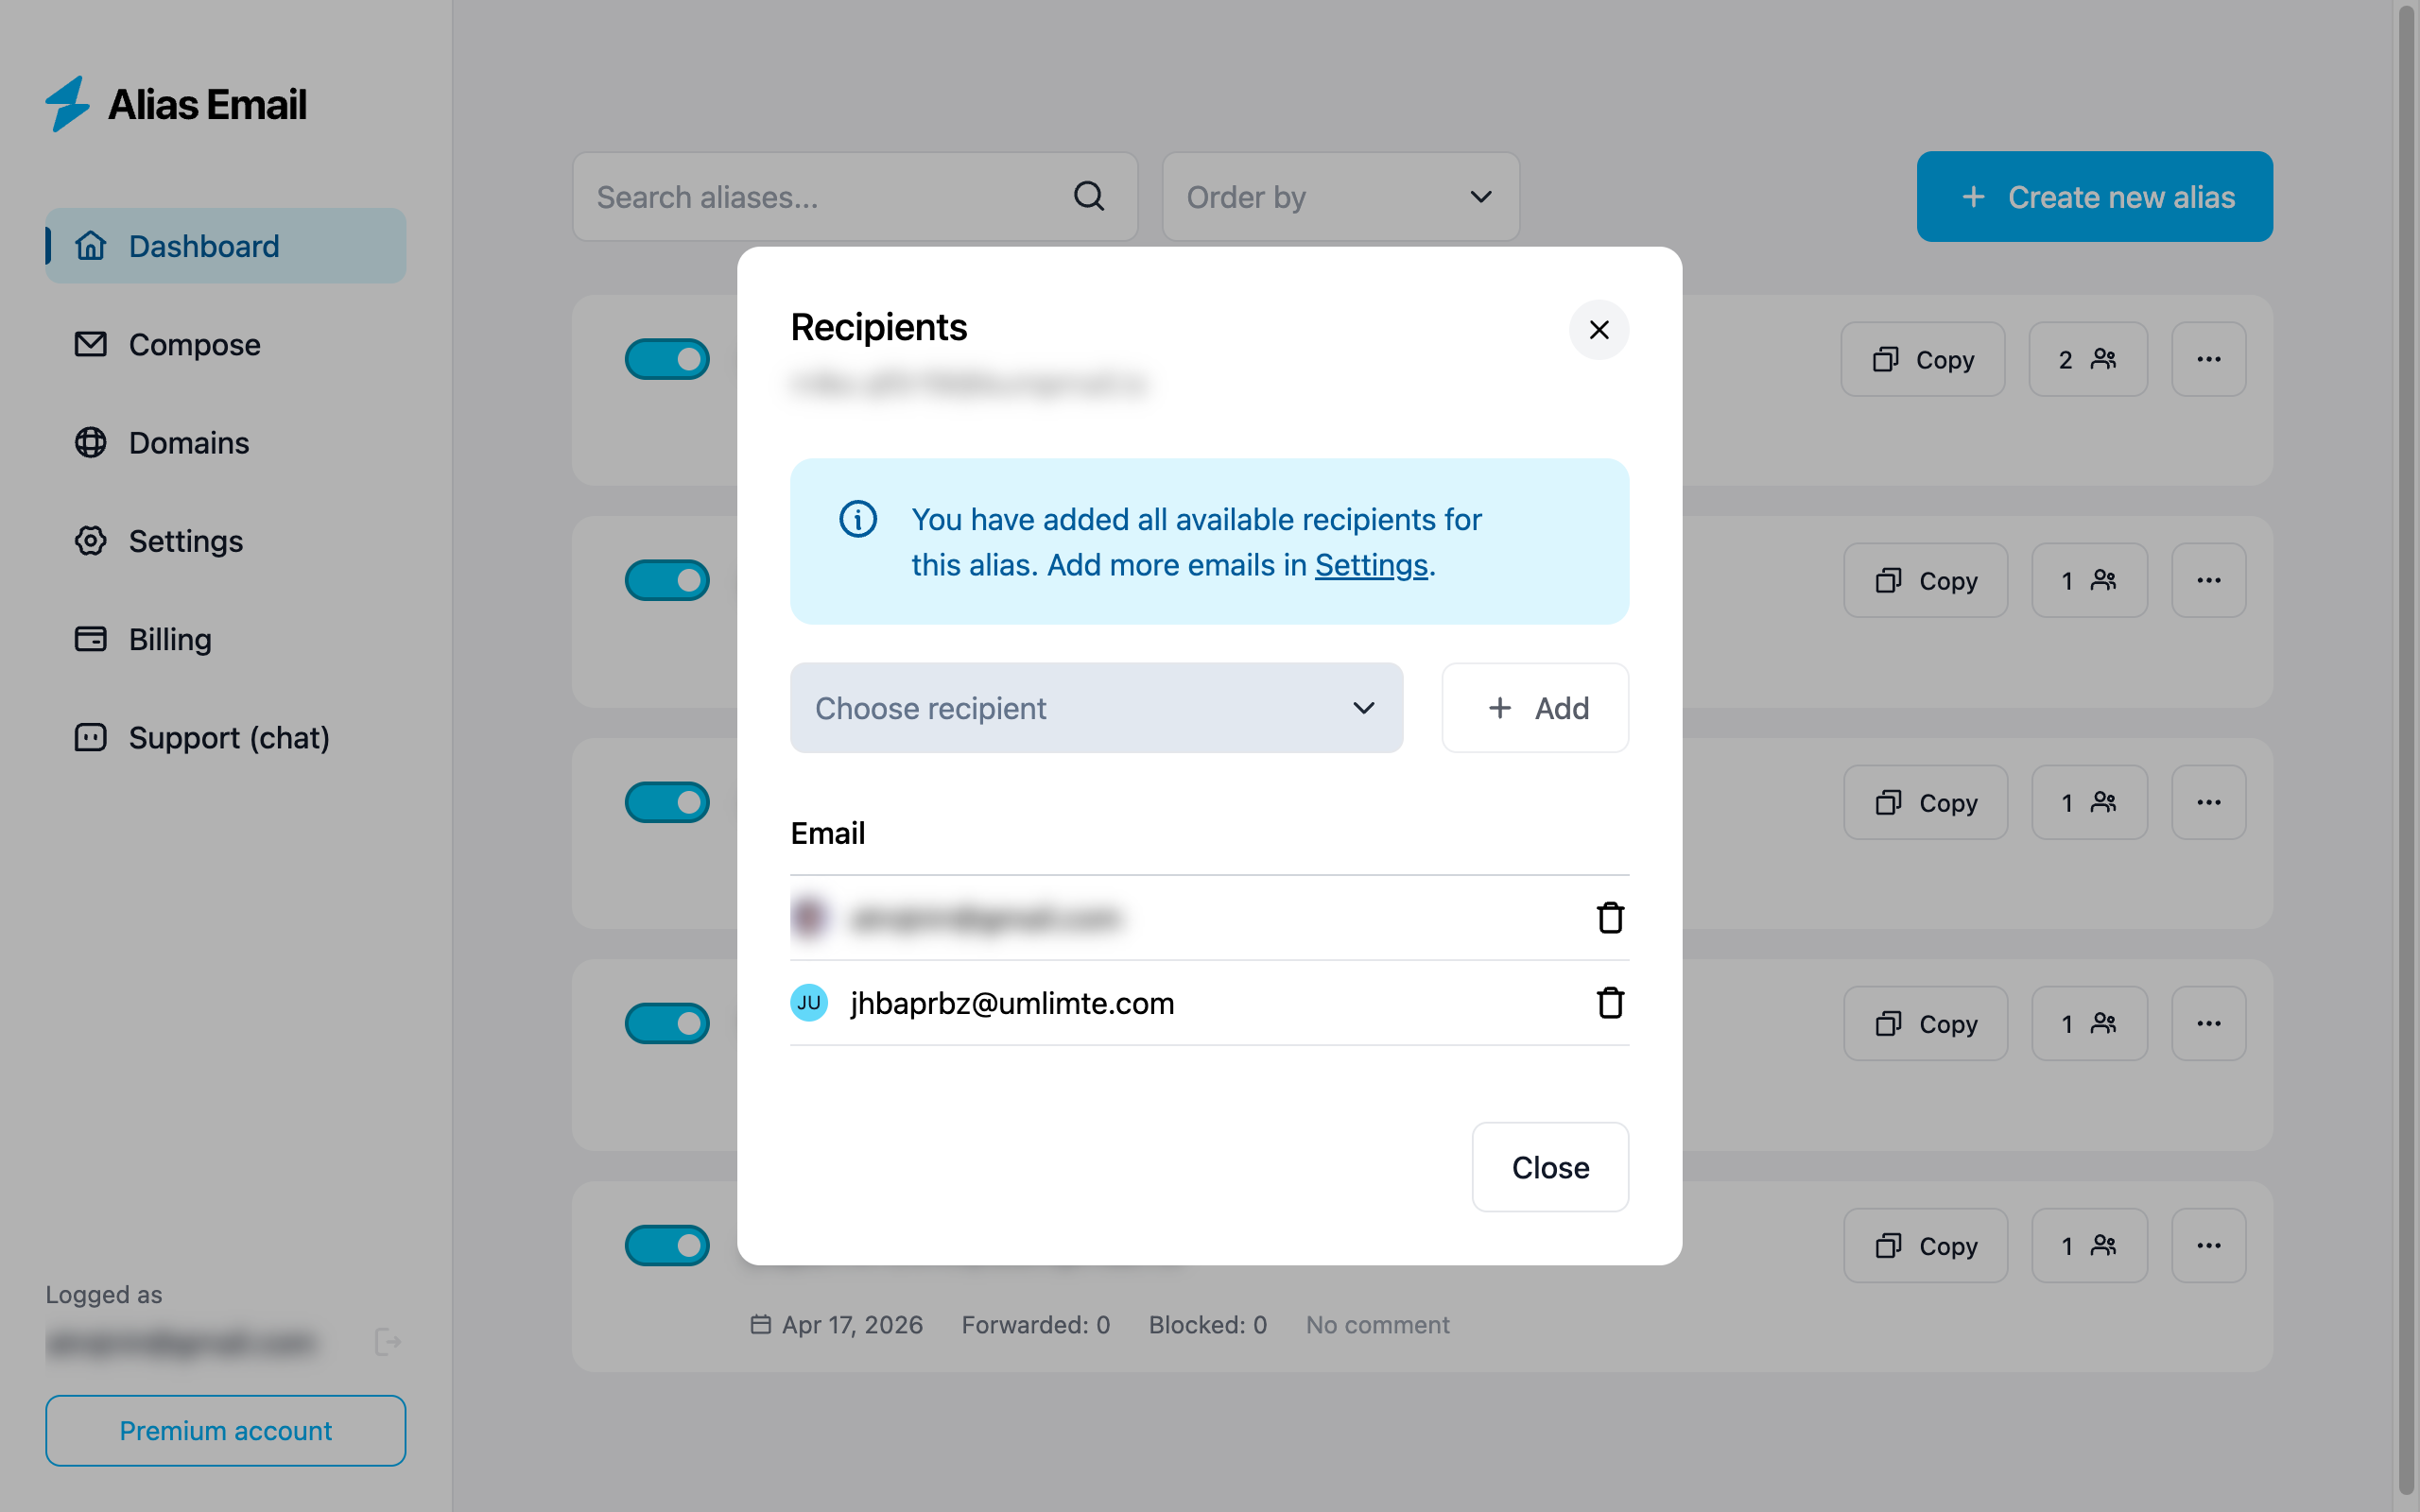
In the Recipients modal, pick the email you just confirmed from the "Choose recipient" dropdown and click "Add".
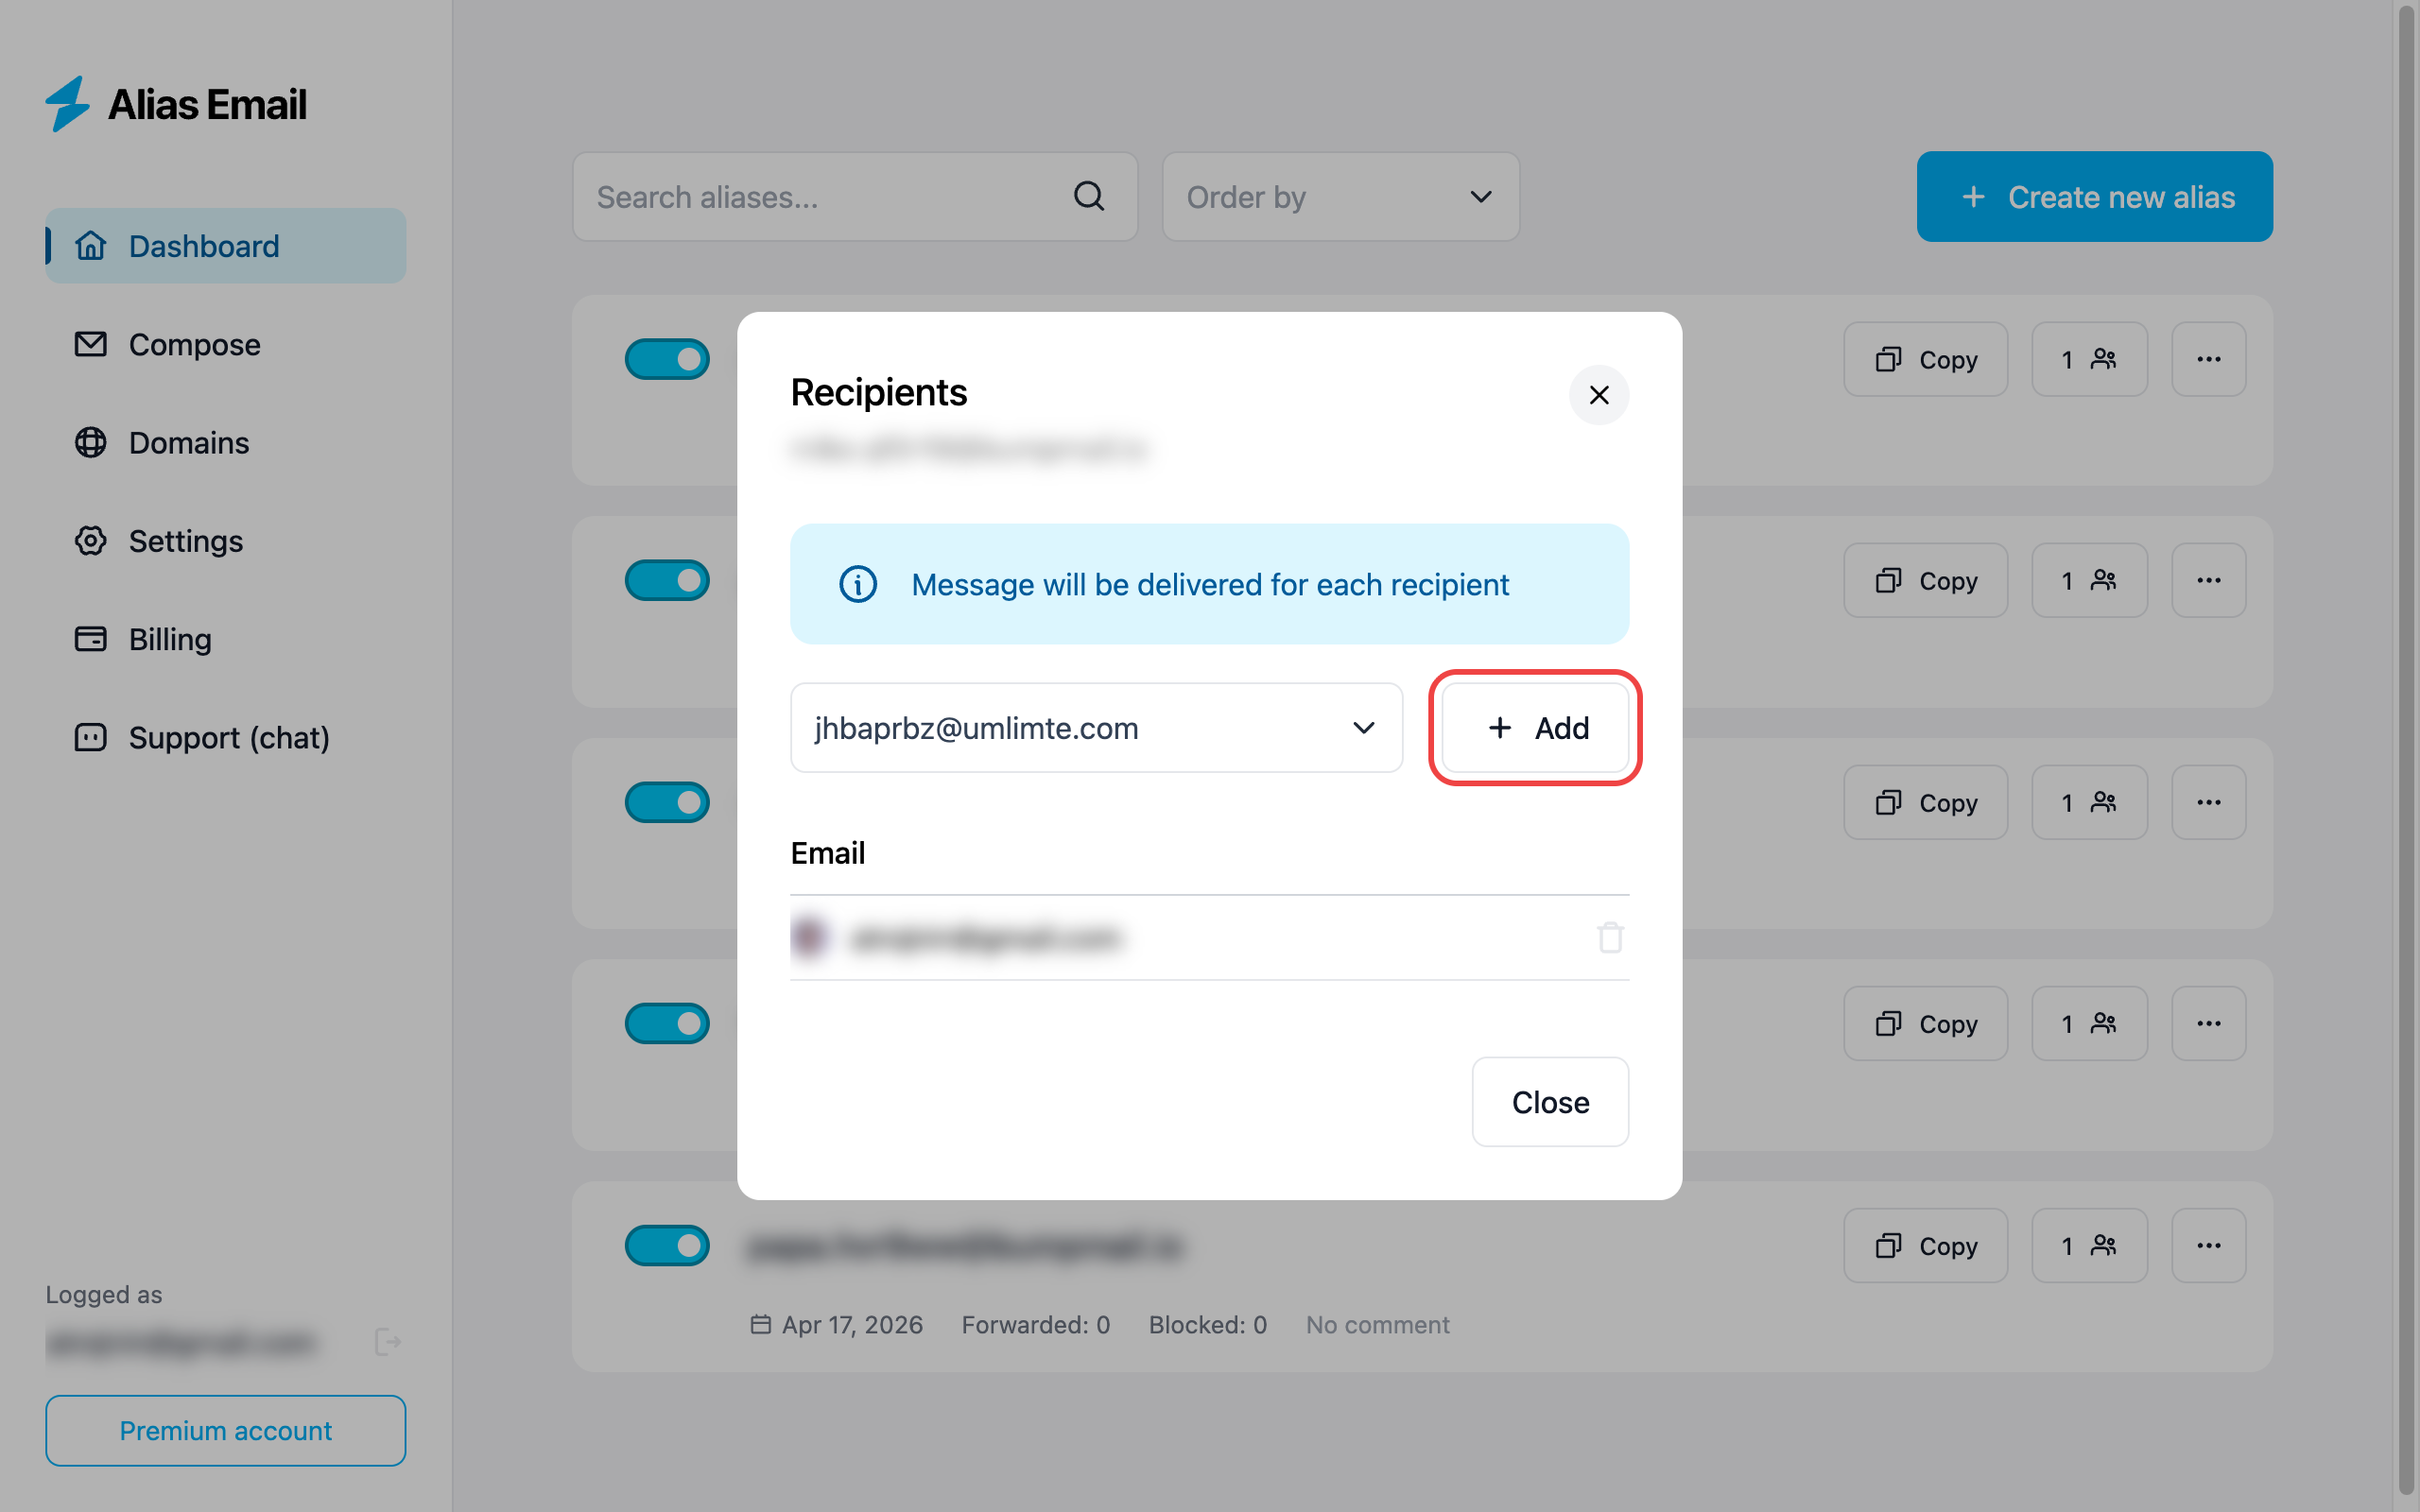
The new recipient appears in the table below — from now on, every message sent to this alias is delivered to both inboxes.
You're not limited to two — repeat steps 1–4 for any number of additional addresses. This is handy for fan-out scenarios: route a shared "hello@" alias to your whole team, or send order notifications to both your work inbox and your phone's email at the same time.
To remove a recipient, click the trash icon next to their email.
What's next?
- Protect your brand by adding a custom domain.
- Reply without revealing your identity — learn how to send anonymous emails.