
How to reply to forwarded emails without revealing your address?
When someone sends a message to your alias, Alias Email forwards it to your real inbox. The natural reaction is "if I hit Reply, won't they see my real email?" Short answer: no. Your reply goes through Alias Email and lands at the recipient looking like it came from your alias — your real address never leaves our servers.
You don't need to install anything, copy any address, or use a special button. Reply works in Gmail, Outlook, Apple Mail, Thunderbird, Proton Mail — anywhere.
How it works
Every email we forward to you carries a Reply-To header pointing to a private reverse-routing address that only your account can use — something like reply.a3f2b9@reply.bumpmail.io. When you click Reply, your email client follows that header instead of the original sender's address. The message hits our servers, we strip your real email, replace the From line with your alias, and deliver it to the original sender.
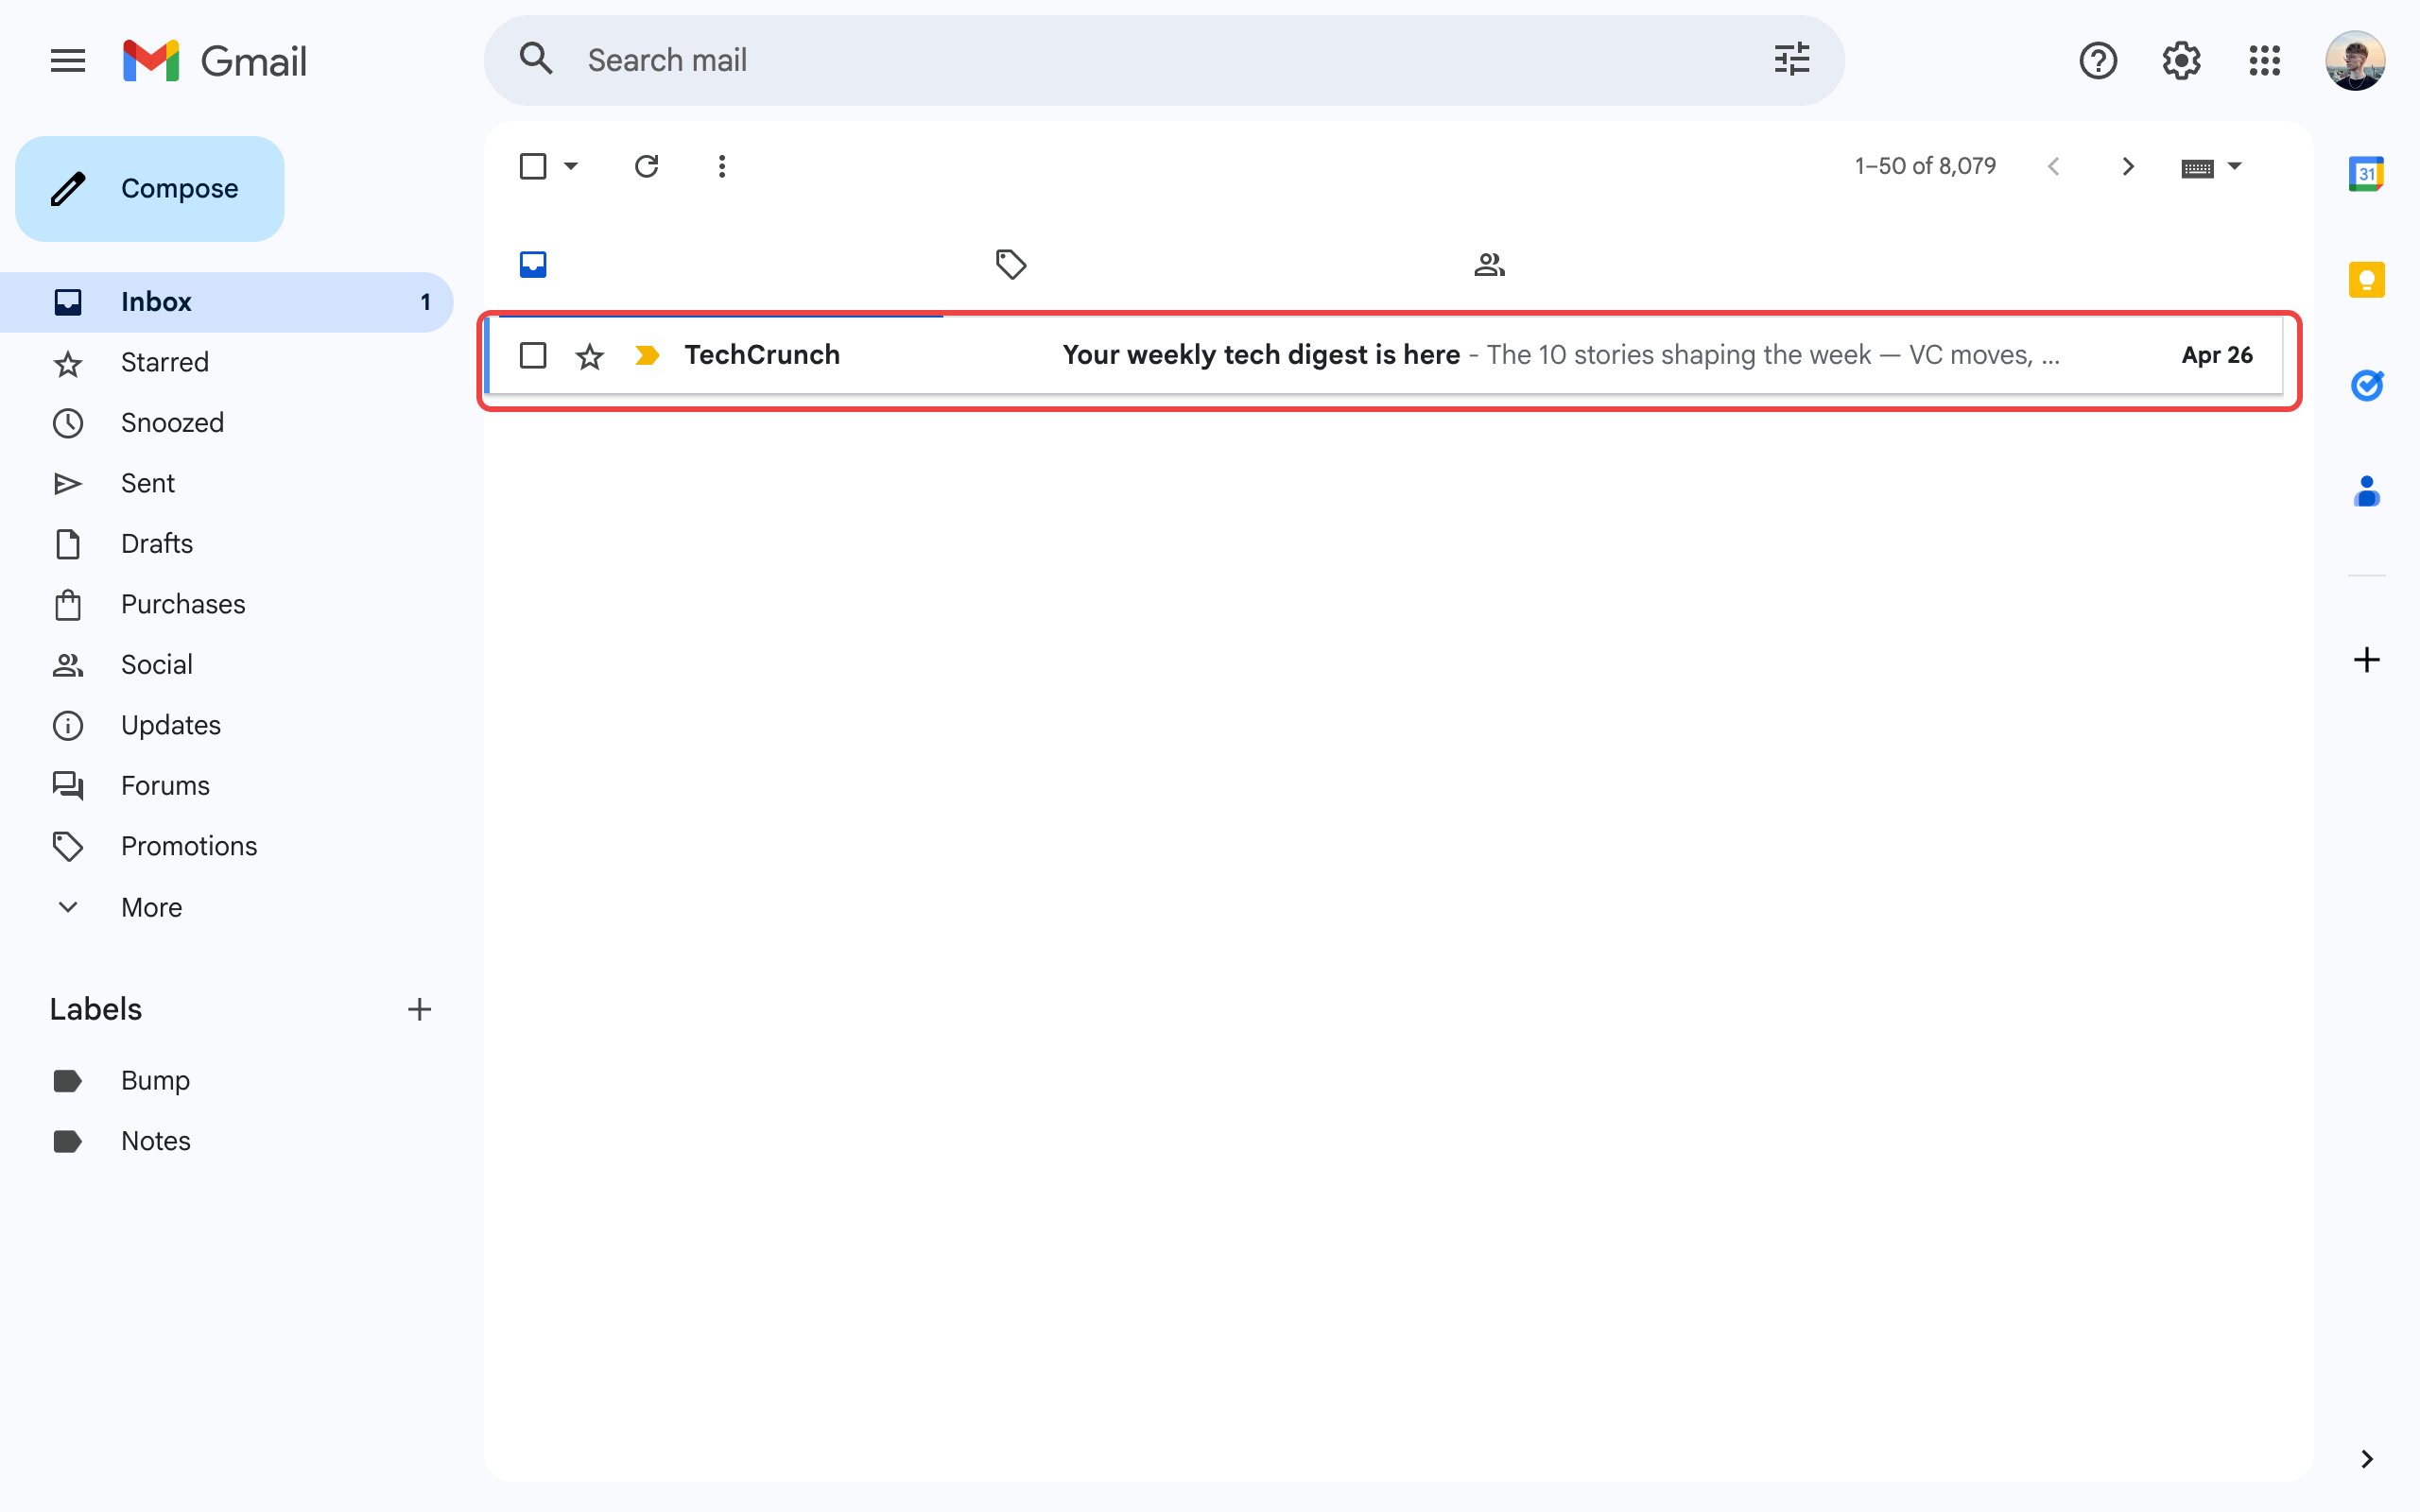
Step 1 — Open the forwarded email
Find the message in your inbox the way you normally would. The sender shows up as the original person you're talking to, not as anything Alias-Email-flavoured.
Step 2 — Hit Reply
Click Reply (or Reply All) like you would for any email. Your email client opens a compose window with the To field pre-filled — but instead of the original sender's address, you'll see a reply.*@reply.bumpmail.io address. That's the magic Reply-To header doing its job.
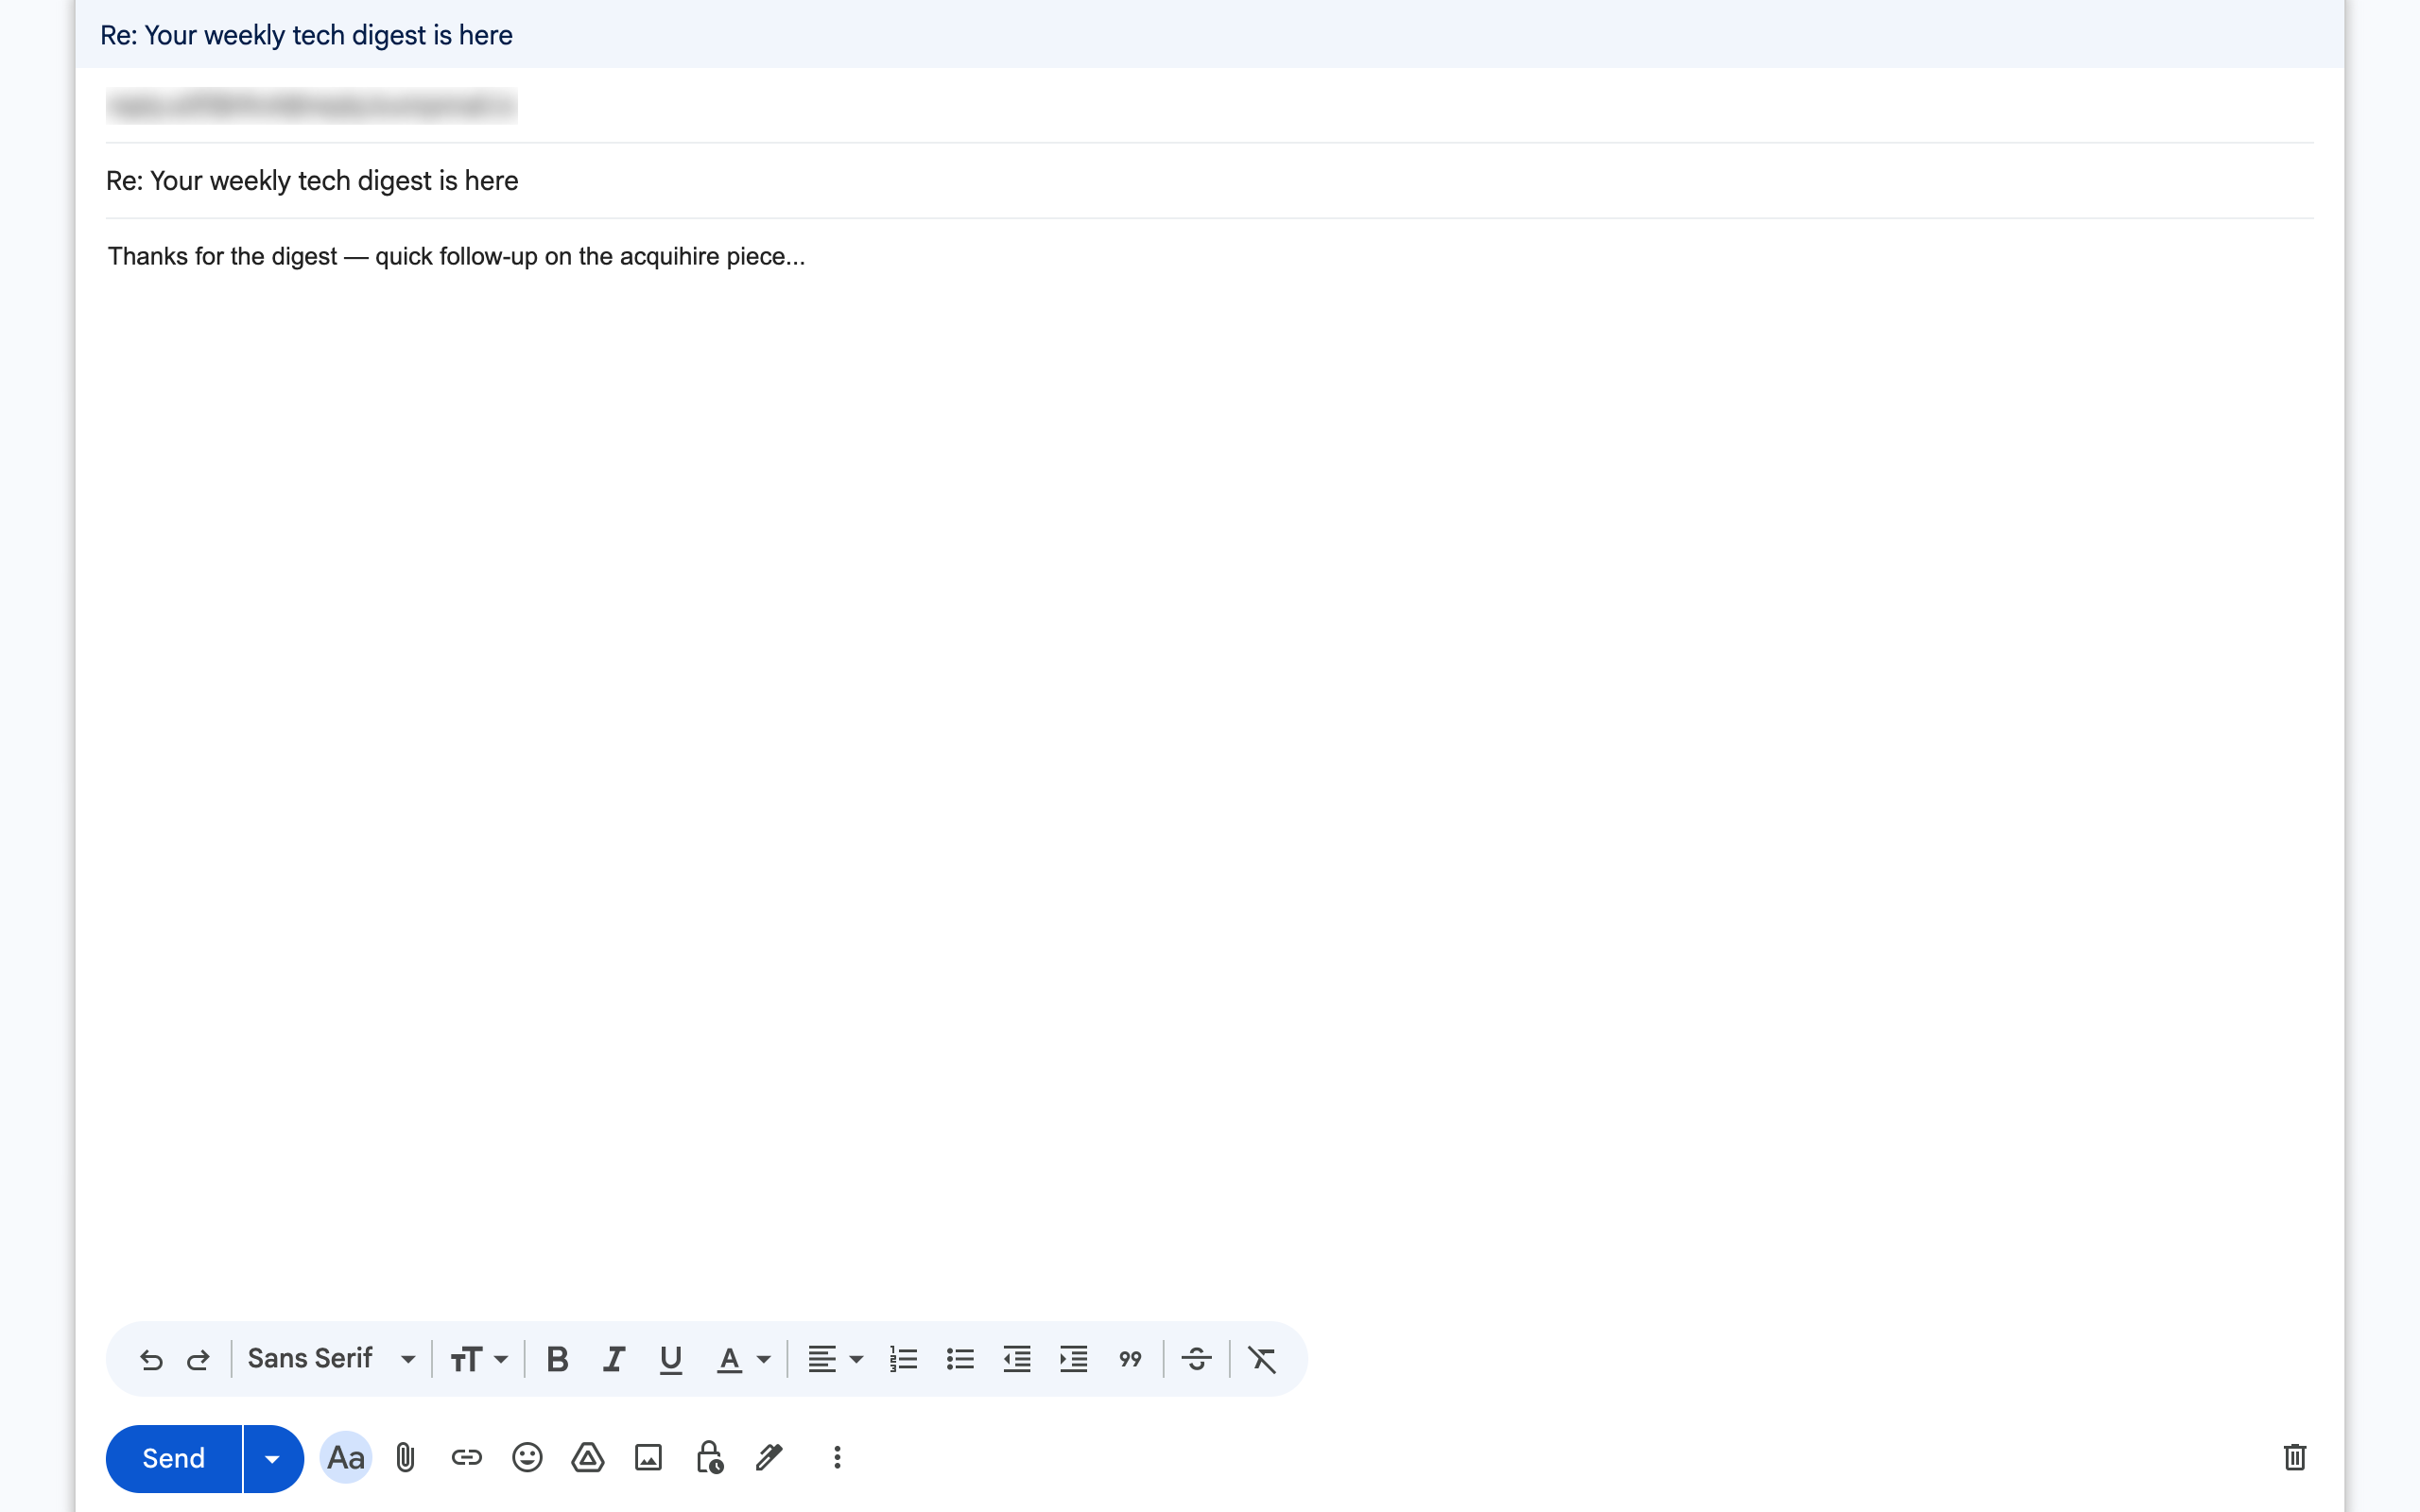
Don't change that To address. It's the bridge — if you replace it with the original sender's email, the message will go directly from your real inbox and the alias is bypassed.
Step 3 — Send
Type your message and send. The recipient receives a regular email from your alias address. They can hit Reply, and the cycle continues — every round-trip stays inside Alias Email.
Want to start a new conversation from your alias?
Reply only works once you've received an email at your alias. To send a brand-new message from your alias, use the in-app Composer: open Compose in your dashboard, pick the alias under "From", fill in the recipient and body, and send. Premium feature — see the anonymous email guide for details.